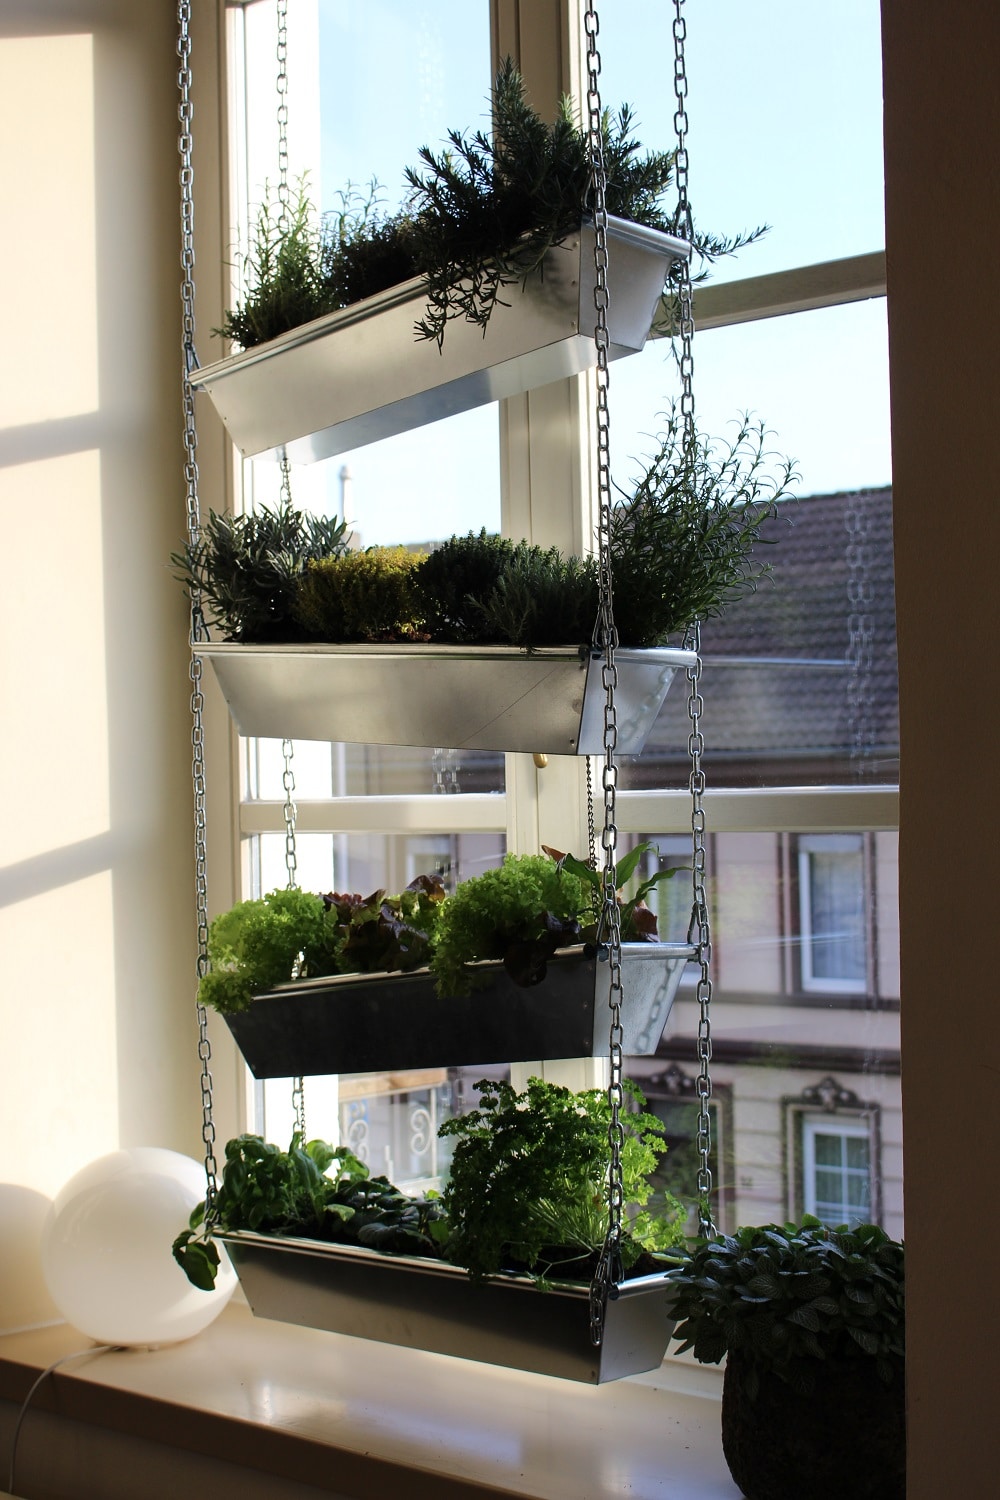
Nearly two weeks have passed since the Galileo shoot: here is our compact guide for the vertical indoor kitchen garden. The whole project took us a day, because having a TV crew around naturally takes time. However, the reproduction should not take more than two hours!
Many thanks again to the campaign “1000 gute Gründe“. Without the guys and girls, we would have been quite lost, as getting young plants in early February was not possible either in specialist shops or at our Bioland vegetable stand at the market. You saved us! 🙂

Before we start, here is the list of required materials. We have added links for the parts that are a bit harder to find. There you will also find more helpful information – whether you ultimately buy online or prefer to shop at the DIY store. We found most of the items at Hornbach. One thing in advance: what you absolutely need is a ceiling that can support this construction. Each filled planter weighs about 10 kg – after watering, of course, it will be heavier. In case of doubt, ask a specialist!
Required materials:
- 4 wall plugs (TOX Barracuda expansion plugs 16 x 80 mm, 10 pieces, 013100141
)
- 4 eye bolts (5x stainless steel V4A eye bolts 6×100 with wood thread
)
- 4 strong steel chains with sufficient load capacity and length (Jumbo-Shop 8m round steel chain 5mm long link galvanized
)
- 4 carabiners to attach the steel chains to the eye bolts (the size depends on your chains)
- 6 carabiners to hang the planters on the chains (the size depends on your chains and drill holes)
- 3 thin, stainless steel chains for the drainage water (the thickness depends on the hole size you will later drill)
- 4 planters
- Metal drill bit
- Potting soil
- Clay granules
- Plant fleece (a few square centimeters are enough)
- 3 paper clips
- possibly transparent nail polish
- and of course seeds or plants
Step 1:
Drill the holes in the ceiling according to the dimensions of your planters, carefully insert the wall plugs into the holes with a rubber mallet, and screw in the eye bolts. This works well if you pass a long screwdriver through the eye and use the screwdriver as a lever.

Eye bolts in the ceiling.
Step 2:
Hook the carabiners into the eye bolts at the top and hang the four strong chains from them.
Step 3:
Hang the smaller carabiners for the planters into the chains. Take the desired slope into account!
Step 4:
Prepare the planters: drill holes so that the carabiners can be hooked in. Tip: With a small dent you make in the metal with a hammer and nail, the metal drill bit finds more grip! Also, drill a hole for water drainage in all containers (except the bottom one).
Step 5:
Test hang the planters in the structure. If anything needs to be adjusted, it is much easier with empty containers!
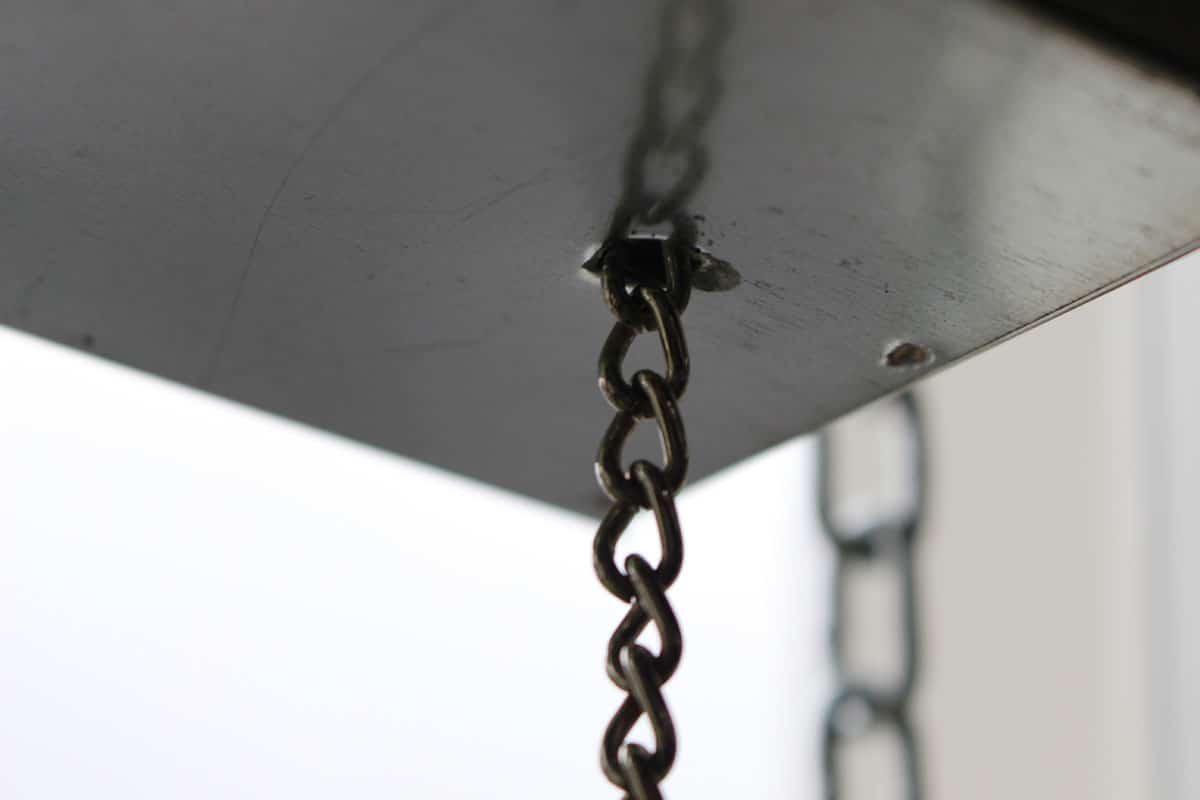
The hole for the water drainage with the small chain, so that the water drips down and does not splash…
Step 6:
Now prepare the planters. The edges of the drill holes for the water drainage can be treated with transparent nail polish as a rust protection. The same applies to the paper clips. Then thread the small chains for the water drainage through one end of the paper clips. The clip then lies on
the bottom of the container above the hole. This prevents the chains from simply falling through the holes. Cover the whole thing with a small piece of plant fleece, so that only water and not soil or clay granules are lost through the drilling hole. The chains are important so that the water can elegantly and without splashing switch levels.
Step 7:
Now fill the planters with two to three centimeters of clay granules. Then take the plants out of the pots and place them in the containers. You can already see clearly if you need to add soil underneath or not. Then fill the containers with soil. But be careful! Please do not fill to the brim to avoid overflow when watering.
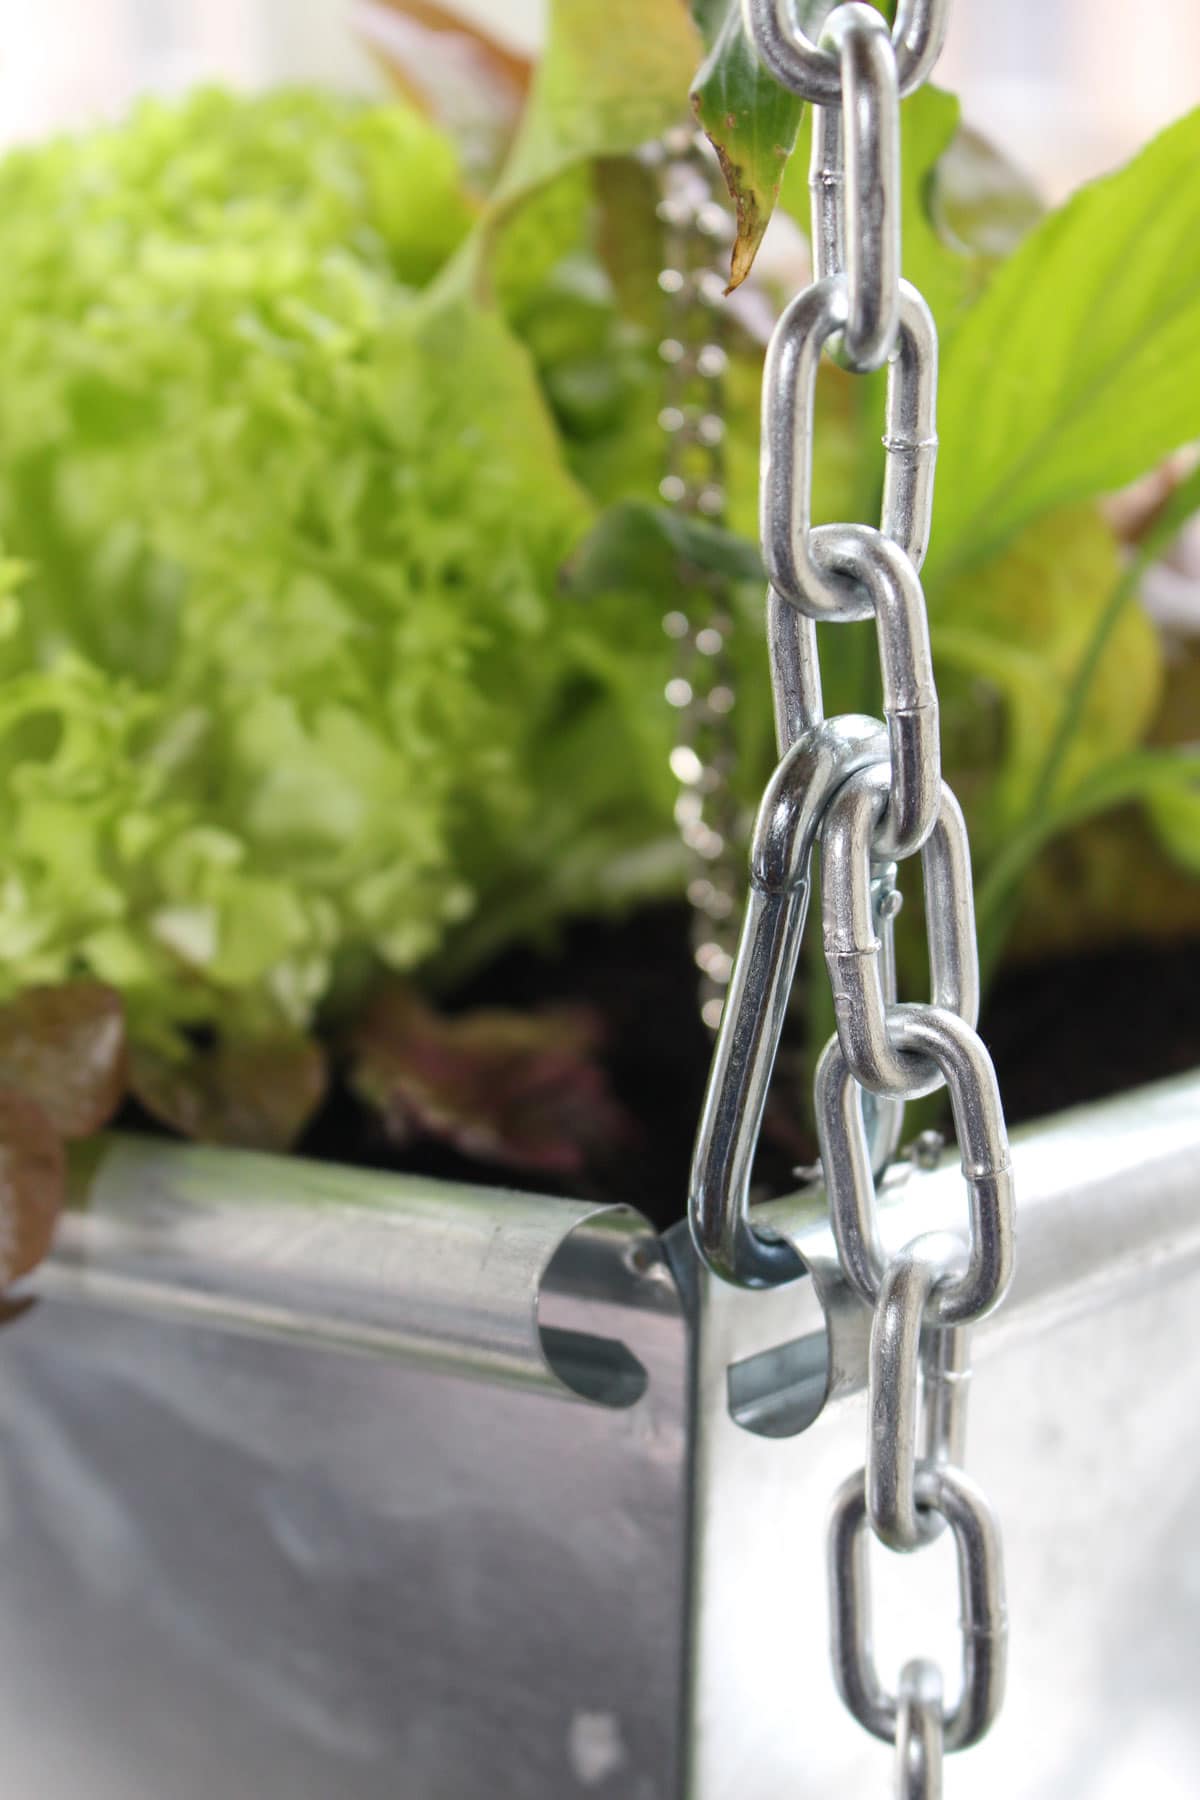
Hook the carabiners into the chain and then into the planters.
Step 8:
Hang the containers in the structure and water them for the first time.
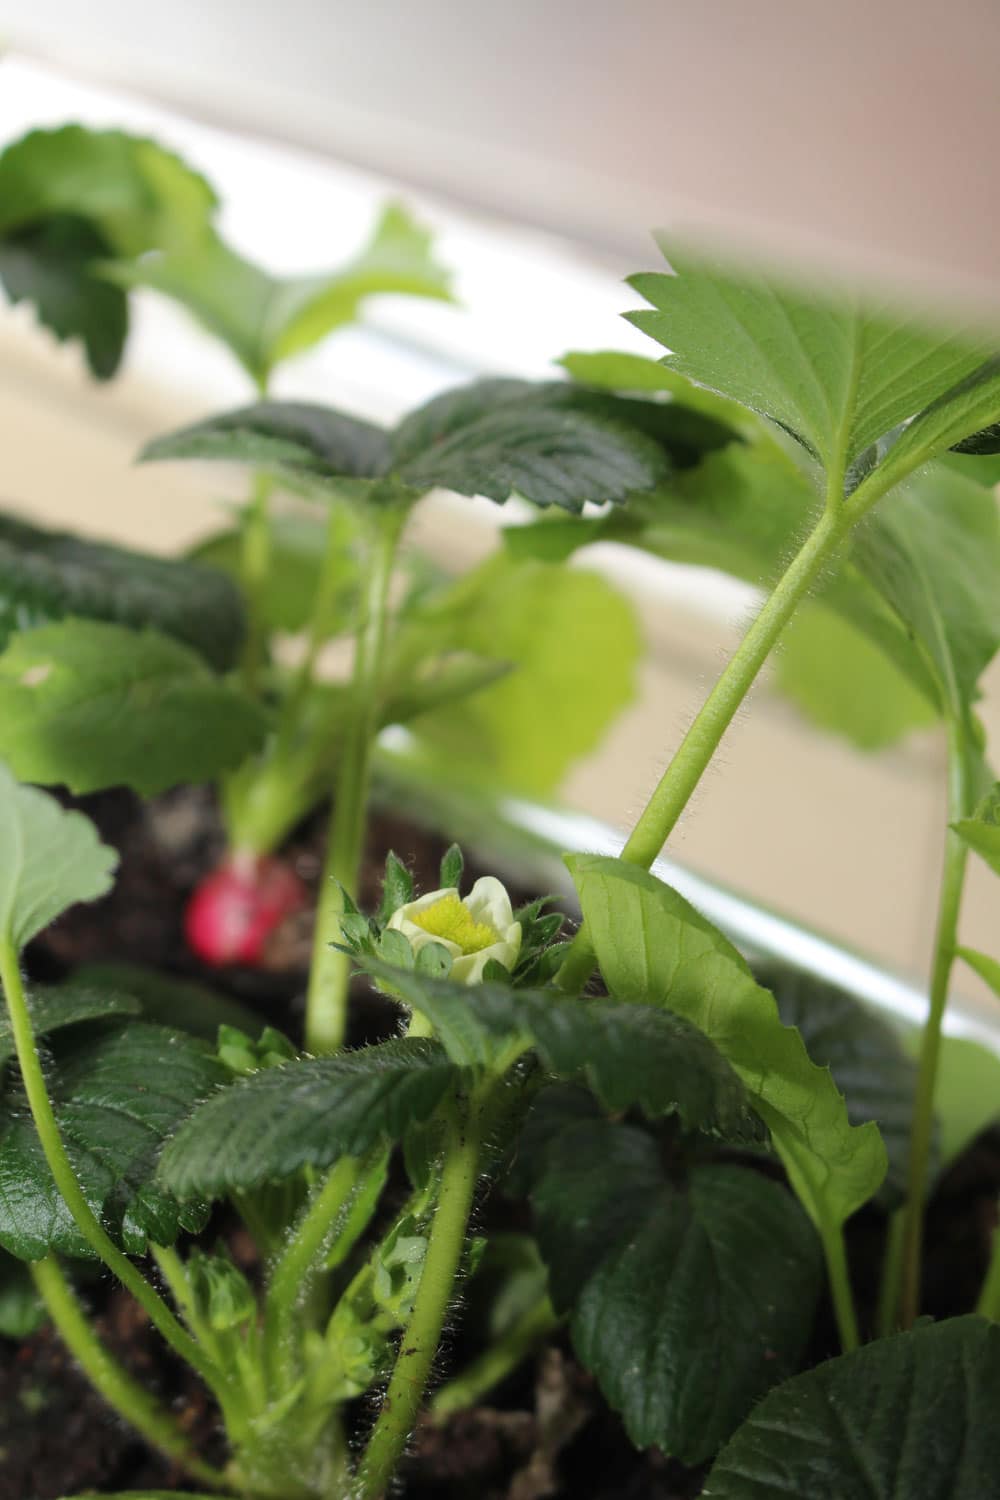
Two weeks later, the radishes are almost ready to harvest, and the strawberries are blooming vigorously!
Some thoughts on the vertical garden:
- Experience shows that even if you water at the top, the top planters are usually the driest because the water flows down. That’s why we decided to use the top two tiers for Mediterranean herbs. At the bottom is a container that we planted according to the moisture zone of a herb spiral.
- When planting in such a confined space, make sure that the different plants get along well. There are many lists of good and bad neighbors in vegetable beds on the Internet!
- We planted more densely than you should in the open ground. For the following reasons: the more soil is covered by greenery, the less water evaporates through the sun. And: if a plant is struggling, we can always move it to the balcony later.
- Of course, you could also make the construction with straight hanging containers, without water drainage. But the more creative variant is more fun for us! 🙂

